To shingle a roof, Install the drip edge, then install felt from the bottom up over the drip edge. Once completed begin with your starter shingles from the bottom up. After the start shingles begin booking out your shingles until you get to installing ridge caps. Let's dive into more detail!
Table of contents
- Safety Precautions for Roof Shingling
- Important Roof Shingling Considerations Before Starting
- Tools and Materials You Might Need
- Basic Guide to Shingling a Roof
- Installing Asphalt Roof Steps:
- Wrap Up Your Project
- The Importance of Proper Flashing in Roof Shingling
- Final Tips and Common Mistakes to Avoid in Roof Shingling
- Challenges of Shingling a Roof in Various Climates
- Conclusion
Safety Precautions for Roof Shingling
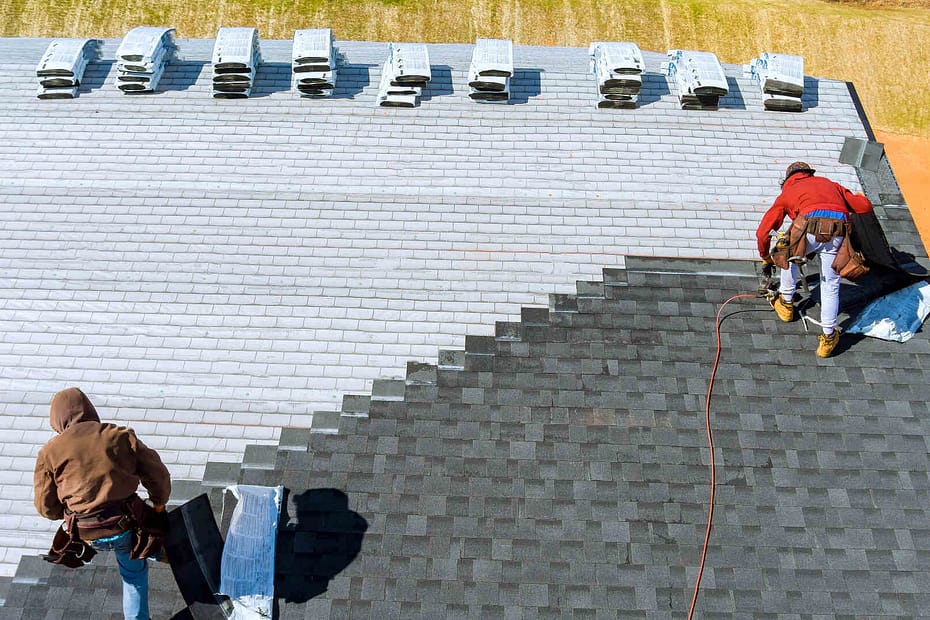
The image above is a classic example of poor safety procedures. While the installers do appear to be using good foot protection they're lacking tie-offs.
For a safe roofing job, follow these simple steps. Wear non-slip shoes, use safety gear like harnesses and nets, and ensure your ladder is stable. Avoid bad weather, keep your workspace tidy, and be careful on steep surfaces. Stay away from power lines, stay hydrated, and protect yourself from the sun. Use your tools carefully to prevent accidents.
Important Roof Shingling Considerations Before Starting
Embarking on a roofing project demands careful planning and consideration. To ensure a successful outcome, follow these important steps and guidelines:
- Roof Inspection & Assessment: Begin by thoroughly examining your roof's current condition, and identifying any existing damages that need attention.
- Material Selection: Choose roofing materials that align with your area's climate, your roof's slope, and your personal design preferences. Check with your community for standards. Many HOA's have design committees that require certain colors, materials, patterns, etc.
- Budget Allocation: Allocate your budget wisely, covering expenses for materials, labor, and any unexpected costs. Utilizing a roof cost calculator can provide a rough estimate. If your home is older, budget extra for potential extra costs for possible decking replacement.
- Compliance with Local Building Codes & Permits: It's crucial to adhere to local building codes and obtain any necessary permits before starting your project.
- Ventilation & Insulation: Ensure proper ventilation and insulation to enhance your roof's longevity and energy efficiency. Your roof needs to breathe. Improper ventilation can reduce the life of the roof and increase heating and cooling costs.
- Removal of Old Roofing: Decide whether to overlay new shingles on your existing roof or opt for a complete roof replacement. Have more than one layer of shingles? It may be time to do a tear-off. This will add waste costs to your project.
- Understanding Warranty & Guarantees: Familiarize yourself with the warranty terms for both materials and labor to protect your investment.
- Setting a Realistic Timeline: Establish a reasonable timeline for project completion, factoring in weather conditions and other potential delays.
- Eco-Friendly Waste Disposal: Plan for environmentally responsible disposal of old roofing materials and debris, minimizing your project's ecological footprint. Consider if any waste provider near you has a shingle recycling program.
Tools and Materials You Might Need
When you start your roofing project, it's important to have the right tools and materials to make the job go smoothly and on time.
| Tools | Materials |
| Roofing guns Roofing hammer Ladder Utility knife Tape measure Chalk line shingles Safety Equipment | Shingles Roofing nails Roofing felt Flashing Drip edge |
Basic Guide to Shingling a Roof
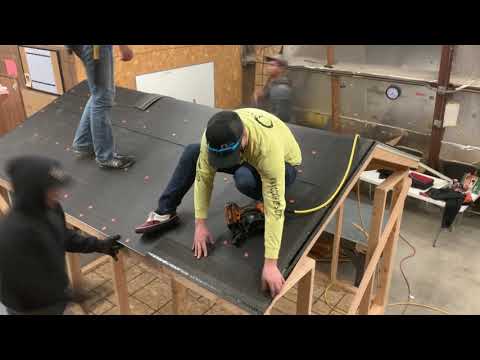
Watch Videos Before You Start Your Roofing Project
YouTube is an excellent resource for learning how to install asphalt shingles. Below is a simple asphalt roof installation example. This video gives you a rough idea of how to start installing your new asphalt shingle roof.
Installing Asphalt Roof Steps:
- Preparing the Roof: To start the process, start by clearing the roof deck to eliminate old shingles and debris. Simultaneously, apply underlayment for crucial moisture protection. Also referred to as a tear-off.
- Prepare the Area: If doing a tear-off consider covering plants, cars, or any personal object around your home. Damage can occur when doing a tear-off as shingles are heavy and contain coarse granules.
- Installing Drip Edge: After preparing the roof, next, install the drip edge tightly along the edges. This important step guides the rainwater into the gutters and protects the parts under the roof.
- Install Felt: Felt provides temporary protection for the roof deck in case of rain while the roof is being installed. It's also a backup waterproof layer.
- Laying Starter Shingles: As you advance, position the starter shingles at the roof's bottom edge. This provides a solid base, ensuring not only stability but also increases the life of the roof.
- Applying Asphalt Shingles: Moving on to the next phase, apply asphalt shingles starting from the bottom. Take care to nail each shingle in its place. Commonly referred to as booking out the shingles.
- Working Around Roof Objects: When faced with roof objects like vents and chimneys, carefully trim and position the shingles. This approach allows you to maintain a smooth and secure roofing surface. Don't forget about flashing. Not sure what flashing to use? See our article on what is roof flashing.
- Attaching Ridge Cap: As you approach the roof's peak, focus on installing ridge shingles. These ridge shingles ensure complete coverage and add ventilation to allow your roof to breathe.
Wrap Up Your Project
- Inspect: Before finishing the roofing project, it's important to perform an inspection. This step is crucial to verify the proper alignment and secure attachment of all shingles, ensuring the roof's integrity.
- Cleanup: Finally, after all the roofing work is completed, prioritize the cleanup phase. Ensure that the roof and its surroundings are clean and free from debris and any leftover materials.
The Importance of Proper Flashing in Roof Shingling
Proper flashing in roof shingling is crucial for preventing water damage and enhancing roof longevity. It directs water away from vulnerable areas and is essential around chimneys, vent pipes, and roof valleys. Ensuring its correct installation helps avoid costly repairs and safeguards your property against harsh weather. This step is important for everyone, helping homeowners and professionals alike learn how to find a roof leak.
Final Tips and Common Mistakes to Avoid in Roof Shingling
Avoiding pitfalls is key to successful roof shingling. Select the correct shingles, ensure proper flashing installation, and adhere to local codes. Steer clear of common errors like improper nailing or skipping underlayment to guarantee a durable, long-lasting roof.
Challenges of Shingling a Roof in Various Climates
Shingling roofs have different issues in different weather conditions, so it's important to use the right methods to make sure roofs are strong and last a long time.
Coastal States
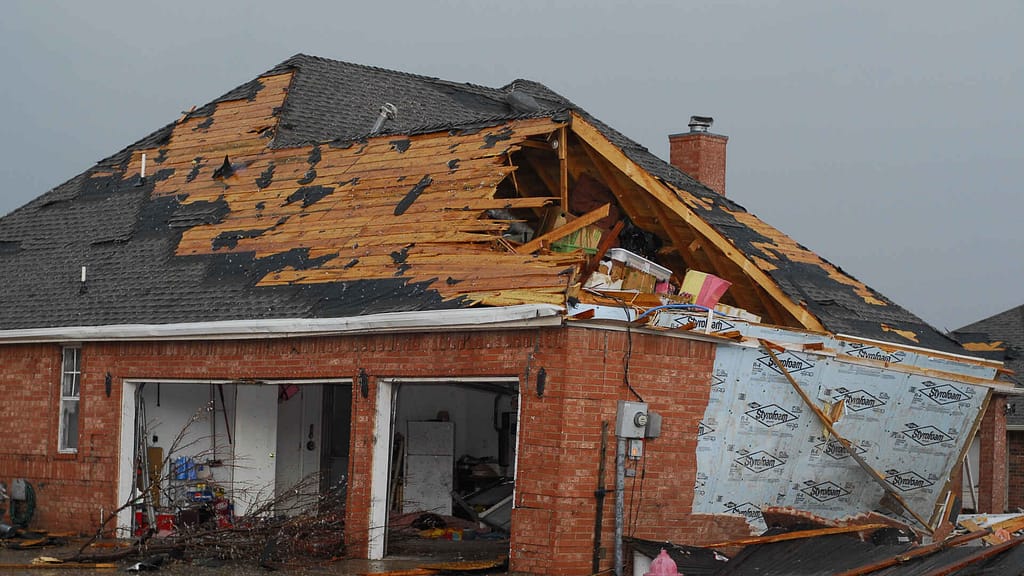
In places with strong winds and hurricanes, regular shingle roofs can get seriously damaged. These conditions can quickly harm or blow away the shingles, making the roof weak. Metal roofs are stronger and usually a better choice in these areas.
Desert States
The harsh sun and exceptional heat in desert states can cause rapid damage to asphalt shingles, leading to cracks and causing waste. According to the U.S. Department of Energy, using white roofing in desert climate states for its high sunlight reflection keeps roofs cooler and more efficient.
Northern States
In northern areas, heavy snowfall poses a significant threat to shingle roofs, potentially leading to leaks. Considering the substantial expenses associated with Minnesota roof replacements, opting for metal roofs becomes a pragmatic alternative. These roofs let snow slide off easily. This lowers the chance of damage from snow and makes the roof stronger in areas where there's often a lot of snow
Conclusion
To wrap things up, always put safety first when working on roofing. Take your time to check the roof and pick the right materials for the job. Follow all the steps carefully and think about the weather in your area to make sure your roof can handle it.
After you finish the work, do a last check to make sure everything is in place and clean up all the mess. Keeping these simple things in mind will help you do a good and safe roofing job.
Fact checked by Christinne Somo - 9/26/23