To install asphalt roll roofing, clean the roof, apply underlayment, and start from the bottom. Position the roll, secure with nails, overlap following rolls by 2 inches, and seal edges. Add flashing for added protection.
Table of contents
What is Asphalt Roll Roofing?
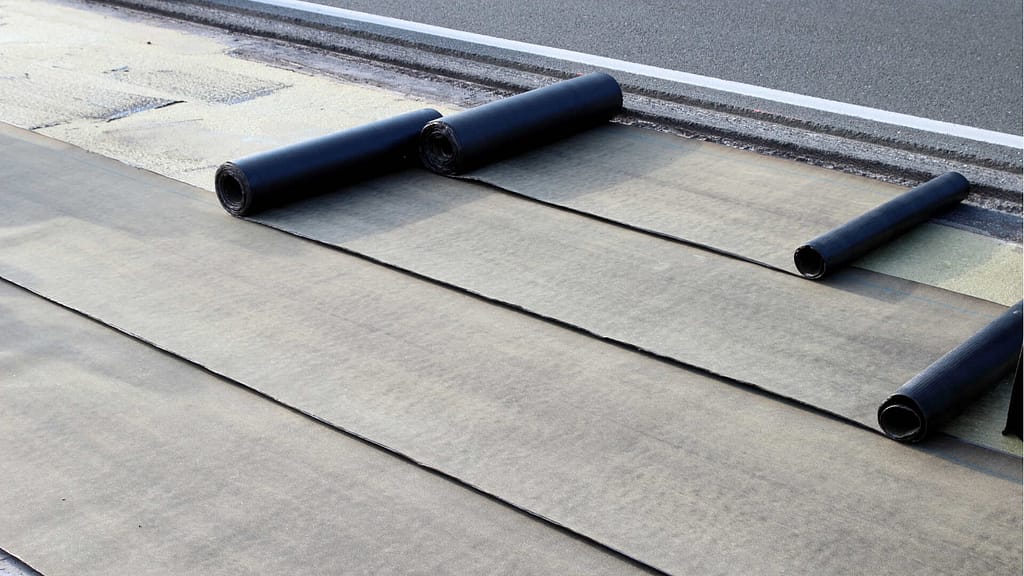
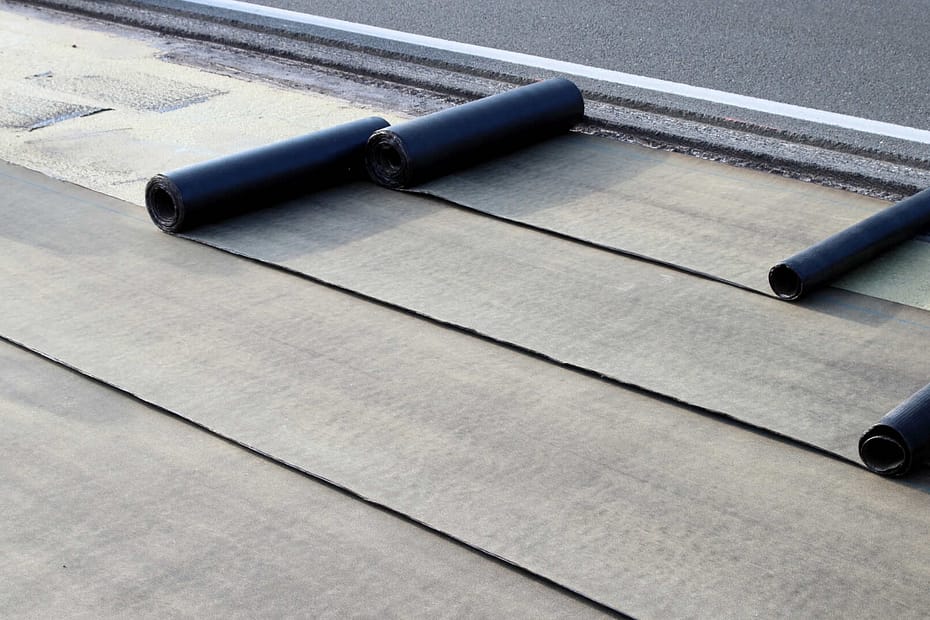
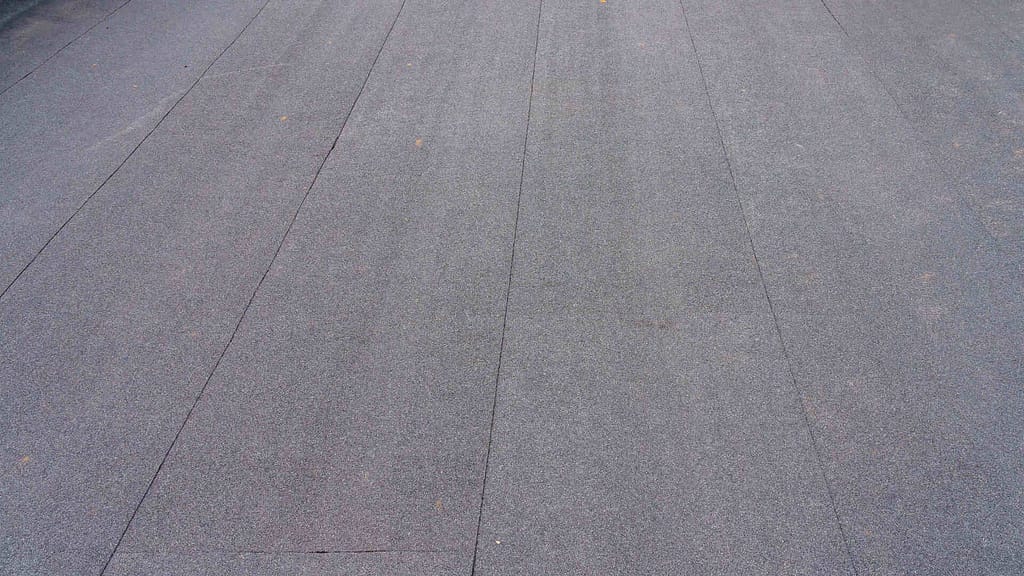
Asphalt roll roofing differs from traditional shingles and tiles. Instead of selling as individual pieces, manufacturers offer it in large rolls to lay on roofs in overlapping strips. It resembles a massive sheet of roofing material that you unfurl and apply section by section.
Made mainly of asphalt products, its look closely mirrors that of asphalt shingles, yet in a slimmer design. This slimness keeps the material flexible, crucial for rolling out.
Though primarily asphalt, manufacturers might reinforce roll roofing or mix it with other materials to enhance its durability and lifespan. They might blend it with fiberglass or organic felt materials, tailored to the product's purpose.
Why Choose Asphalt Roll Roofing?
Selecting the right roofing material defines not only your roof's look but also its lifespan, upkeep, and the protection it offers underneath. Amidst myriad options, why pick asphalt roll roofing? Here's why:
- Cost-Effective Solution: One of the primary advantages of asphalt roll roofing is its affordability. It often emerges as one of the least expensive materials when compared to other roofing options. Even the associated installation materials, like nails and adhesives, won't break the bank.
- Easy Installation: If time is of the essence, asphalt roll roofing could be your best bet. Its roll-out design means you can cover large areas of your roof swiftly, without the painstaking process of placing individual shingles. This ease of installation not only saves time but also reduces labor costs if you're hiring professionals.
- Ideal for Low-Incline and Flat Roofs: Some roofing materials don't fare well on roofs with a slight incline, but that's where asphalt roll roofing shines. It's designed specifically to be the best covering option for roofs that don't have a steep pitch, making it perfect for structures like sheds, patios, and garages.
- Durable in Specific Conditions: When installed correctly and maintained, asphalt roll roofing can offer years of protection against the elements. While it may not boast the longevity of some pricier materials, it provides solid performance for its cost.
However, while the benefits are numerous, it's essential to consider the material's limitations. For instance, its aesthetic appeal might not match some of the more luxurious roofing materials, and it might not be the best choice for roofs with a steeper incline or those looking for extended longevity.
Safety First

Before diving into the actual process of installing asphalt roll roofing, it's paramount to prioritize safety. Roofing projects, no matter their perceived simplicity, can pose a variety of risks. Here are essential safety precautions to ensure a hazard-free installation:
Proper Attire
When embarking on a roofing project, it's crucial to dress appropriately. This means opting for long-sleeved shirts and long pants to shield against potential scrapes and minor injuries. Additionally, the importance of footwear cannot be overstated; non-slip roofing boots or shoes with substantial tread are essential to ensure a firm grip on the roof and prevent any unfortunate mishaps. To further ensure safety and ease of handling tools and materials, sturdy work gloves are also a must-have.
Fall Protection
Roofing inherently involves heights, making fall protection an absolute necessity. For those working on roofs with a significant elevation, wearing a safety harness that's anchored to a robust point can be a lifesaver. Alongside this, ladder safety is pivotal. Always use a stable ladder and ensure its base is positioned on even ground. It's worth noting that while ascending or descending the ladder, maintaining a three-point contact—either two hands and one foot or two feet and one hand—is the safest approach.
Weather Considerations
The weather can greatly influence the safety and efficiency of a roofing project. For starters, wet or icy conditions can render a roof surface perilously slippery, so it's best to schedule the project during dry periods. Additionally, the temperature plays a significant role, especially when dealing with asphalt roll roofing. This material can become stiff and brittle in colder climates, so aiming to work on a day when temperatures are above 50°F ensures the material remains malleable.
Tool Safety
Handling tools requires attention and care, especially when dealing with sharp implements like utility knives and tin snips. It's essential to handle these with caution, and when they're not in active use, they should be stored safely, away from the immediate working area. For those using power tools, such as power nailers or other electric devices, familiarity with their operation and inherent safety precautions is a prerequisite to ensure a risk-free working environment.
Material Handling
The very nature of roofing materials means they can often be cumbersome and heavy. Asphalt rolls, for instance, can pose a challenge if you're not prepared for their weight. If there's any doubt about handling them independently, it's always wise to enlist assistance. Proper lifting techniques, which involve using the legs and not the back, are key to preventing potential injuries. Moreover, some roofing materials or adhesives can emit strong fumes. It's advisable to work in well-ventilated areas and, if necessary, wear a mask to avoid inhaling these fumes.
Be Aware of Surroundings
While deeply engrossed in the task at hand, it's easy to become oblivious to one's surroundings. However, it's vital to remain conscious of potential hazards like overhead power lines or other obstacles. Staying alert and aware not only ensures personal safety but also the safety of those around, making the entire project run smoothly and without incident.
Note: We strongly discourage installing asphalt roll roofing on your own if you lack professional experience or expertise. Undertaking this task without the proper knowledge can pose significant safety risks. Always prioritize your safety and consider consulting or hiring a professional roofer for the installation.
Preparing the Roof

Before diving into the installation of asphalt roll roofing, thorough preparation of the roof surface is imperative. Proper preparation ensures a smooth application process and the longevity of your new roofing. Here are the steps and considerations for preparing your roof:
- Cleaning the Surface: Begin by removing any old shingles, nails, or other materials that might be present on the roof. A flat pry bar can be a handy tool for this task. Once you've rid the roof of old materials, sweep away any dirt, grime, or debris. Using a broom is effective for brushing off the dirt, while a leaf blower can assist in clearing leaves and other lightweight debris. Remember, a clean surface ensures better adhesion of the new roofing material.
- Inspect for Damages: After cleaning, inspect the roof for any damages. Look out for soft spots, areas of rot, or any signs of moisture damage on the roof sheathing. If any damaged sections are found, it's essential to repair or replace them before moving on.
- Roofing Felt Application: To provide an extra layer of protection against condensation and leaks, apply roofing felt to the cleaned and repaired sheathing. The felt acts as a barrier, ensuring that the asphalt roll adheres better and lasts longer. Lay the felt in long strips, ensuring each strip overlaps the previous one slightly to avoid any gaps.
- Primer Application (if needed): Depending on the type of asphalt roll roofing and the manufacturer’s recommendations, you might need to apply a primer to the sheathing or roofing felt. This primer enhances the bond between the roof and the asphalt roll.
- Layout: Before actually installing the roofing material, it's a wise practice to lay it out on the ground. This helps in understanding the dimensions and ensures you cut and install it in a manner that avoids wastage and maximizes coverage. Using bricks or weights on the corners can help keep the material in place as you measure and cut.
Installing the Asphalt Roll Roofing
Once your roof is adequately prepared, it’s time to dive into the main event: the installation of the asphalt roll roofing. The process might seem daunting, but with careful planning and patience, it's a straightforward task. Here’s a guide to help you get started:
Cutting the Roll to Size
Before you begin installing roll roofing, cut the material to the correct size to ensure smooth application and a snug fit to prevent leaks. First, measure your roof's length and width you intend to cover. Add a few inches to these measurements for overhang adjustments and error margins.
Next, spread the asphalt roll roofing on a clean, flat space, making sure you have ample room to work. Mark the measurements on the roll roofing with chalk or a washable marker, remembering the extra inches you added. For accurate lines, employ tools like a straight edge or a carpenter’s square.
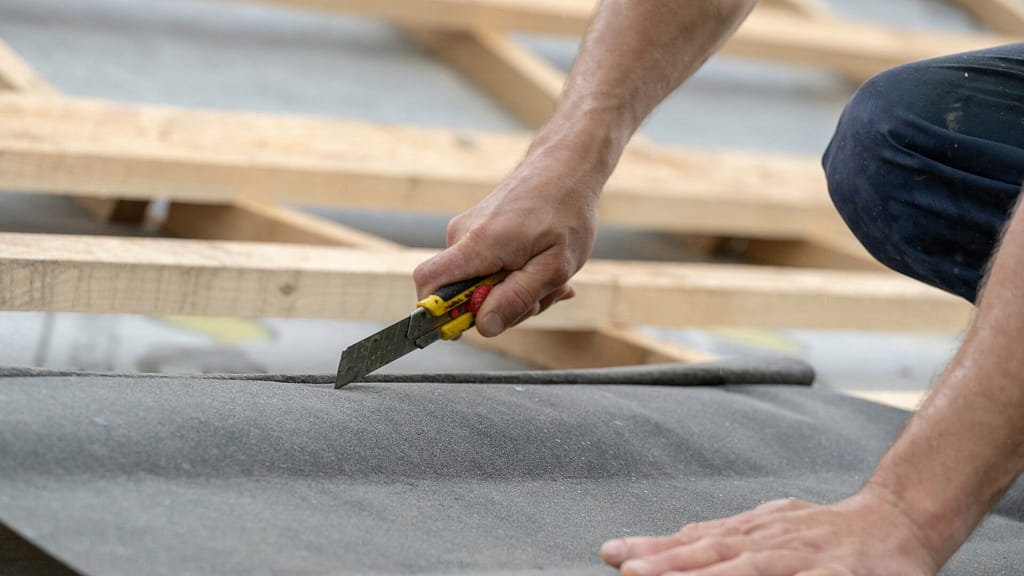
When cutting, use a sharp utility knife with a fresh blade for clean cuts. Align a straight edge with your marked line and cut the material with consistent pressure. Always cut away from yourself, keep a safe distance from the blade, and wear protective gloves to avoid injuries.
After cutting, compare the cut material to your roof measurements to verify accuracy. Adjusting now is easier than during installation. Accurate cutting is vital; it sets the foundation for a polished and successful installation.
Applying Roofing Cement/Adhesive
Applying roofing cement or adhesive correctly is crucial to ensure that your roll roofing adheres properly and provides a watertight seal. The adhesive not only helps bond the roofing material to the roof's surface but also adds an extra layer of waterproofing. To begin, make sure the roof's surface is clean and free of any debris or moisture.
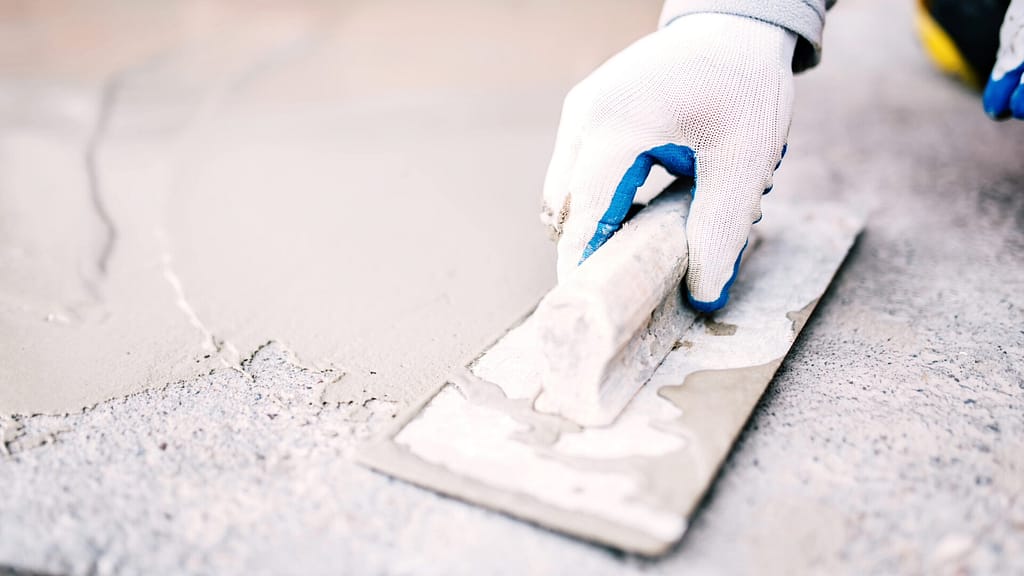
Start by stirring the roofing cement thoroughly until it reaches a consistent texture. Using a trowel, scoop out the adhesive and spread it evenly across the area where the roll roofing will be applied. Ensure you cover the entire surface, paying particular attention to the edges, as these areas are susceptible to leaks if not adequately sealed.
The thickness of the application should be consistent, neither too thin nor too thick. A thin layer might not provide adequate adhesion, while an overly thick layer can lead to unsightly bumps or ridges underneath the roofing material.
Once the cement is spread, allow it a few moments to become tacky. This tackiness will ensure the roll roofing adheres securely. Always refer to the manufacturer's instructions regarding wait times and optimal application conditions, as these can vary based on the specific product and environmental factors.
Lastly, remember to use gloves when working with roofing cement, and ensure the workspace is well-ventilated, as the adhesive can emit strong fumes. Properly sealing the container after use will also prevent the cement from drying out, allowing for future applications if needed.
Laying the Asphalt Roll
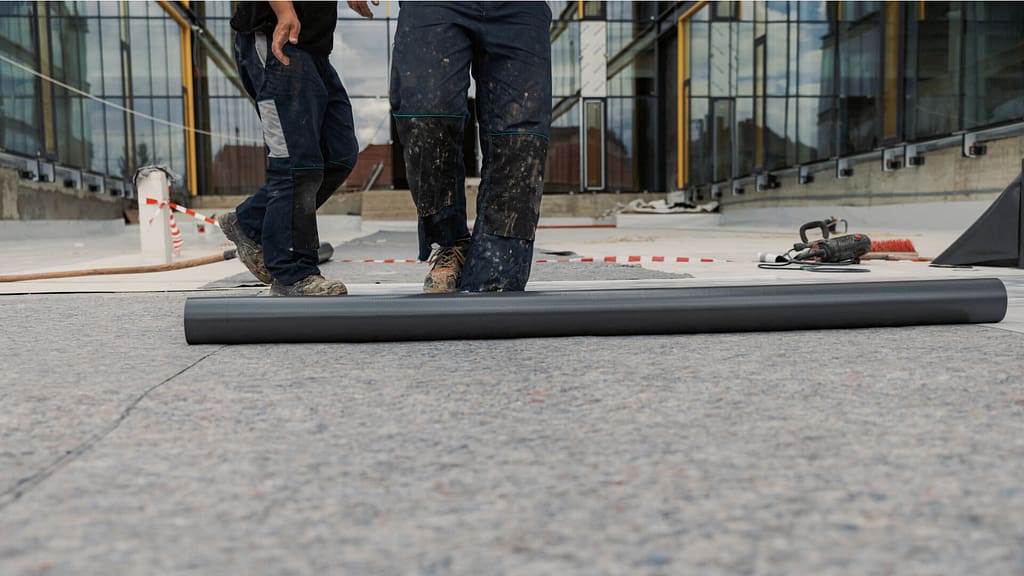
Laying asphalt roll roofing is a meticulous task that sets the foundation for a structure's protection. It's best to start at the lowest point of the roof, typically the eaves, allowing for an overlap with each subsequent roll, directing water over the seams rather than into them.
The initial strip should slightly overhang the edge, roughly a quarter to half an inch, which will later be nailed and sealed for added water resistance. As you place each subsequent roll, ensure an overlap of at least 2 inches to maintain a watertight seal.
While laying, it's crucial to smooth out any air bubbles or wrinkles to ensure optimal adhesive contact and aesthetic appeal. You might encounter vents, chimneys, or other architectural features that necessitate precise cutting and adjustments of the roll roofing. It's vital to make these alterations carefully, always sealing edges to avoid leaks.
Once you approach the peak or the roof's opposite edge, the roofing should again overlap by a similar margin, nailed and sealed to conclude the installation. Proper alignment and secure fastening are essential throughout the process to ensure the rolled roof's longevity and efficacy.
Sealing the Edges
Seal the edges of asphalt roll roofing to reinforce its defense against water and enhance its lifespan. The edges are most vulnerable to water penetration, but proper sealing eliminates these weak spots.
Inspect every edge, overlap, and cutout in the roofing. Pay close attention to the roof's periphery and cutouts for vents and fixtures. Use high-quality roofing cement as a water barrier. With a putty knife or similar tool, spread the cement generously under the roofing edge, pressing it firmly against the underlying sheathing.
For extra defense, spread a bead of cement on top of the roofing edge, smoothing it into a watertight seal. This additional layer offers added protection in areas with heavy rain or snow.
Sealing also protects against wind damage. Winds can catch and lift unsealed edges, causing peeling or detachment. Secure sealing reduces wind damage risks.
Wipe away any excess cement for a clean finish. Enhance edge protection with metal flashing, especially around the roof's perimeter or chimneys. This step not only strengthens the roof but also improves its look. While the roofing's main body offers primary defense, sealed edges ensure total protection.
Finishing Touches
After laying down and sealing your asphalt roll roofing, it's essential to add some finishing touches. These final steps not only enhance the roof's aesthetic appeal but also bolster its durability and efficiency.
- Installing Flashing: Flashing is a thin piece of metal, often galvanized steel or aluminum, used to direct water away from critical areas of the roof, such as joints, edges, and transitions. It's particularly vital around chimneys, skylights, and vents. Carefully place the flashing so that it overlaps with the roll roofing, and then secure it with roofing nails. Seal the edges with roofing cement to ensure no water can seep underneath.
- Checking for Bubbles or Wrinkles: As the roofing settles, small bubbles or wrinkles may appear on the surface. It's crucial to address these as they can trap moisture or become larger over time. Gently press down on bubbles to release any trapped air and then seal them with roofing cement. For wrinkles, it might be necessary to make a small cut, flatten the material, and then seal.
- Applying a Topcoat (if necessary): Some homeowners opt for a protective topcoat, especially in regions with extreme weather conditions. This coat, often made from a reflective material, can extend the life of the roofing by protecting against UV rays, and it can also enhance the roof's energy efficiency by reflecting sunlight. If you choose to add this, ensure the base roofing is clean and dry. Follow the manufacturer's instructions closely when applying.
- Edge Detailing: For an elegant finish, make sure the edges of your roof are clean and straight. If you've left any material overhanging for protection, now's the time to trim it back neatly. Ensure that the trimmed edges are sealed properly to prevent potential water ingress.
- Cleanup: Once everything is in place, do a thorough cleanup. Remove any leftover materials, tools, or debris from the roof. This is not just about aesthetics; debris can trap moisture and cause damage over time.
Building Code and Local Regulations on Asphalt Roll Roofing
Across the United States, the installation of mineral-surfaced roll roofing must adhere to specific standards. The roofing should be securely fastened to solidly sheathed roofs and cannot be applied to slopes less than an 8-percent incline. When it comes to underlayment, it needs to comply with Section 1507.1.1 of the International Residential Code. Importantly, the roofing material should also meet either ASTM D3909 or ASTM D6380 Class M standards.
Always refer to local building codes and consult authorities for any additional or region-specific requirements to ensure both safety and compliance. If you are a homeowner considering asphalt roll roofing and wondering about the costs involved in replacing your roof in Florida (for example), we invite you to use our free roof calculator to provide an estimate.
Conclusion
Roofing is more than just covering a structure; it's about safeguarding your space from the elements and ensuring its longevity. Asphalt roll roofing, with its cost-effectiveness and suitability for low-incline roofs, offers a promising solution for those seeking both protection and economy. It's crucial, however, to approach the installation with diligence, prioritizing safety and precision in every step.
By taking the time to meticulously prepare, install, and seal, homeowners and professionals alike can confidently rely on this roofing method to stand strong against many weather challenges ahead. Whether you're updating an outdoor shed or renovating an older home with low-pitched roof, the versatility of asphalt roll roofing can serve as a reliable shield for your roofing needs.
Fact checked by: Jacob Petrosky (11/6/2023)