Tarping a roof is an essential especially after storms since roofs can face significant damage. Addressing this immediately by tarping a roof serves as an effective alternative solution. Safety is paramount before beginning your tarping project.
Table of contents
When Do You Need To Tarp Your Roof?
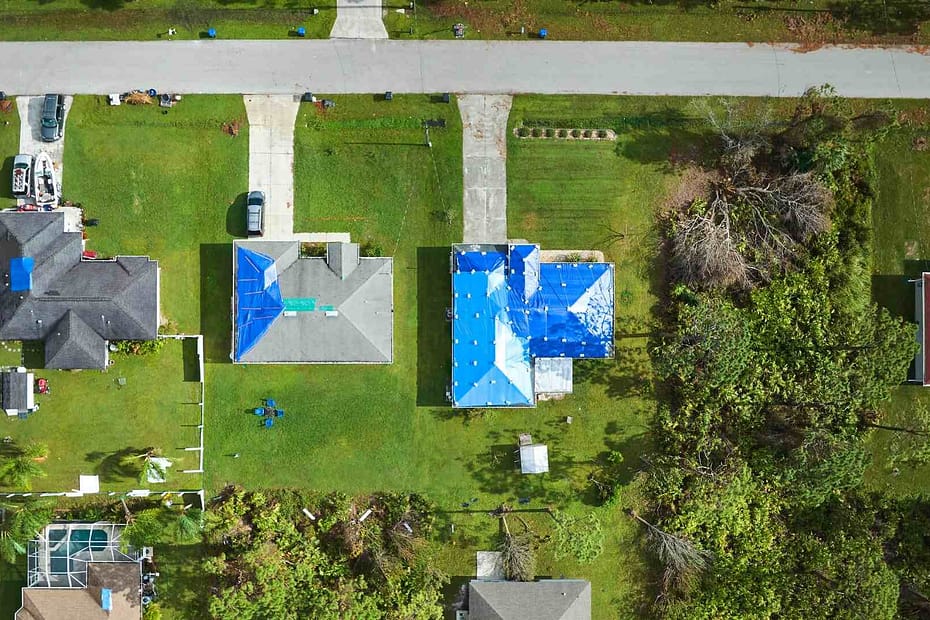
Hurricanes and storms can easily damaged the roof. During the Hurricane Ian, Florida started the operation Blue Program. Which provided temporary blue colored tarps to homeowners. These tarps were installed quickly to help protect against further damage to homes. Without a tarp homes could experience leaks, mold and even unwanted pests from entering.
Which Type of Tarp is the Best for your Roof?
Differences Between Polyethylene, Canvas, And Vinyl Tarps.
Vinyl tarps
Like rubber sheets vinyl is strong and waterproof. They're tough and can handle rain, rot, and sun. You'll see them used at construction places, during moving, or in big workshops.
Canvas tarps
Canvas tarps are breathable and made from cotton or a similar material, these tarps don't rot and let air in. They're not completely waterproof on their own, but can be treated for water resistance. While not as good as a vinyl or poly tarp if this is all you have it's better than nothing.
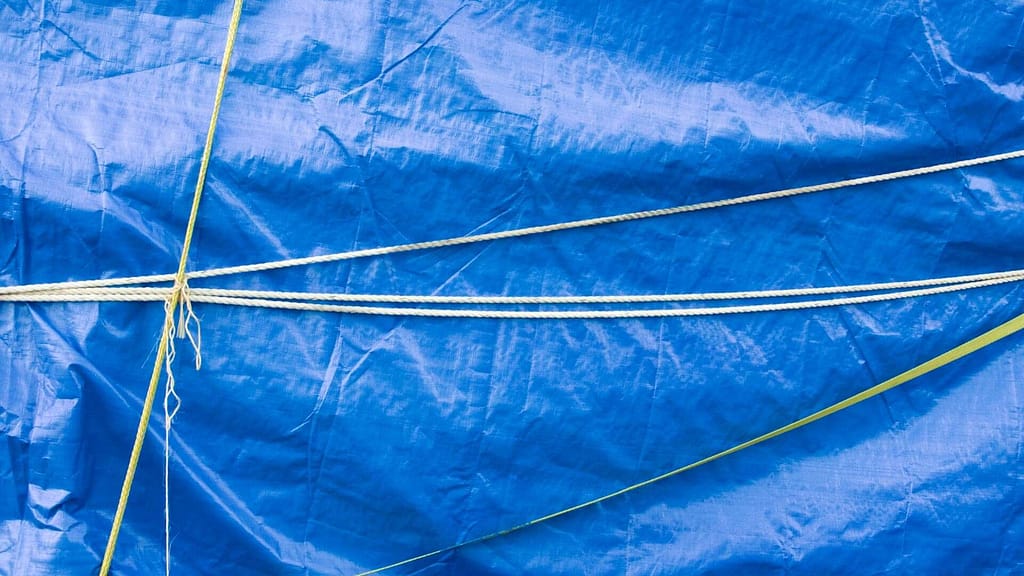
Poly tarps
Poly tarps are light tarps and are waterproof and tough to tear. Good against sunlight, they're often used for quick cover jobs in gardens or on building projects. They might not last as long as the vinyl ones, but they're cheaper and handy for lots of tasks.
Essential Tools and Materials
| TOOLS |
| Plastic or rubber washers |
| Hammer |
| Roof Nails |
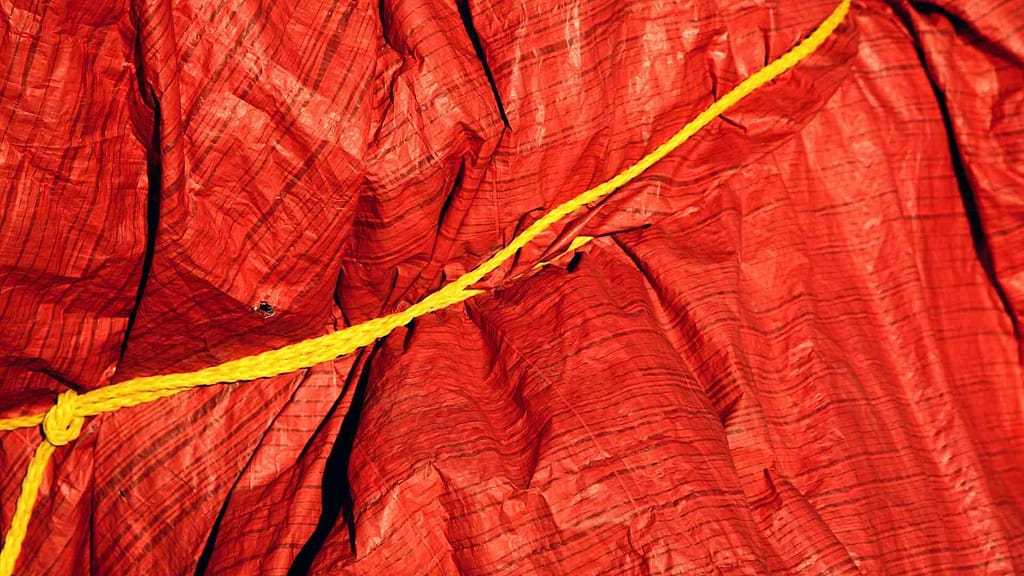
| Ropes |
| Furring strips |
Securing the Tarp in the Roof Properly
Be Mindful of the Weather Condition
Tarping a roof during adverse weather conditions poses significant risks. When a roof is wet, it becomes treacherously slippery, making the likelihood of slips and falls much higher. Moreover, during windy conditions, the tarp can act like a sail, catching the wind and potentially causing you to lose your footing or even get pulled off the roof.
It's essential to prioritize safety above all else. If your roof has sustained damage during a storm, it's advisable to wait for the weather to improve before attempting to install a tarp. If the situation is urgent, consider seeking professional assistance, as they are equipped with the necessary tools and training to handle such conditions safely.
Inspect the Damaged Roof
Before you can effectively cover the roof, you need to assess the extent of its damage. This involves checking for any obvious issues like punctures, gaps where shingles have been blown off, or any other structural damages. This step is crucial as it will give you an idea of the tarp size required to cover the affected area sufficiently. We recommend doing this in the attic first if possible.
Prepare the Roof Surface
A smooth surface is essential for the tarp to lay flat and work effectively. Begin by removing any debris from the damaged area. This could be broken shingles, fallen branches, or accumulated dirt. Ensure you also clear out any pooled water, and smooth down any jagged or raised edges, which could potentially tear or wear down the tarp over time.
Measure and Cut the Tarp
Once you've got an idea of the damage size, spread out the tarp and measure it. Ensure that it not only covers the damaged area but also extends beyond it. This overhang ensures added protection against the elements. After measuring, cut the tarp, always leaving a bit extra for a secure overhang.
If your whole roof is damaged. You can measure your roofs total size for free with our roof cost calculator. After entering your address you will see your roof sqft size. This will tell you how much tarp will be needed to cover your entire roof.
Secure the Tarp's Top Edge
For this step, you'll need furring strips. These will help anchor the tarp in place. Start at the top edge and place the tarp over the damaged area. Lay your furring strips across the tarp and nail them down, making sure they penetrate into the roof's rafters for added stability.
Stretch and Secure the Sides and Bottom
After the top is secure, stretch the tarp tightly over the damaged area, ensuring there are no creases, wrinkles, or air pockets, which could allow water to pool or wind to get underneath. As with the top edge, use furring strips, nails, or screws at regular intervals to keep the tarp in place, working your way from the sides and finally to the bottom.
Double-check Your Work
Safety and effectiveness are paramount. Once the tarp is in place, give it a thorough inspection. Ensure that it's taut, without any slack areas. Check that all the securing points are tight and hold the tarp effectively against the roof. If any areas look weak or insecure, make the necessary adjustments. This step ensures your temporary fix is as effective as possible until permanent repairs can be undertaken.
Common Mistakes to Avoid in Tarping Your Roof
Using an inadequately sized tarp is a prevalent mistake. When the tarp is too small, it fails to cover the damaged area fully, leaving some portions exposed. This can result in water infiltration, leading to further damage.
Securing the tarp improperly is another common error. If not anchored correctly, the tarp can easily be blown away or shifted by strong winds, rendering it ineffective. Proper anchoring ensures that the tarp stays in place, shielding the roof from rain and other environmental elements. It's essential to use the right tools and techniques to affix the tarp securely, taking into account the type of roofing material and the severity of the damage.
Lastly, homeowners often overlook the importance of checking local regulations or rules set by their homeowner association. Some localities have specific guidelines about the type, color, or duration a tarp can be used on a roof. Ignoring these regulations can result in fines or being asked to remove the tarp. Always check with your HOA and city laws before installing a temporary tarp.
Conclusion
A roof's main job is to keep a house and its people safe from outside dangers. If the roof is badly damaged, it's vital to cover it with a tarp quickly. This stops more harm, keeps rain out, and saves money in the long run. But keep in mind the safety precautions. Climbing on a damaged roof can be risky. If you're not sure how to do it or it looks too dangerous, call an expert. It's best to be safe and make sure the roof is covered right, rather than take chances. Always ask for professional advice if unsure.
Fact checked by Karen Del Rosario - 8/25/23