To clean the moss from a roof, wet the area, apply a moss-removal solution, scrub gently, and rinse. Prioritize safety with a secure ladder and non-slip footwear. Avoid damp conditions. Seek professional help if unsure.
Table of contents
What is Moss?

Moss is a fascinating and ancient form of plant life that has been gracing Earth's landscapes for over 400 million years. Unlike the larger plants we commonly recognize, mosses are non-vascular, meaning they don't have specialized tissues to transport water and nutrients.
Mosses are generally characterized by their small stature and soft, green, or yellowish-green appearance. They form dense, carpet-like mats, or tufts, growing close to the ground. Unlike typical plants, mosses lack true roots. Instead, they have thread-like structures called rhizoids that anchor them to their substrate and absorb water and nutrients.
Why Moss Grows on Roofs?
Roofs, especially those that are north-facing or shaded by trees, often become prime real estate for moss growth. But why is that? What is it about a roof that seems so inviting to moss?
Moisture Accumulation
Moss thrives in damp conditions. Roofs, particularly those with a flatter surface or in areas with frequent rain or high humidity, tend to collect and retain moisture. Overhanging trees can exacerbate this by shielding parts of the roof from the sun and preventing rapid drying after rainfall.
Organic Material
Roofs can accumulate a fine layer of organic debris over time. Fallen leaves, pine needles, and even dust can collect and begin to decompose. This provides a source of nutrients that can support the growth of moss.
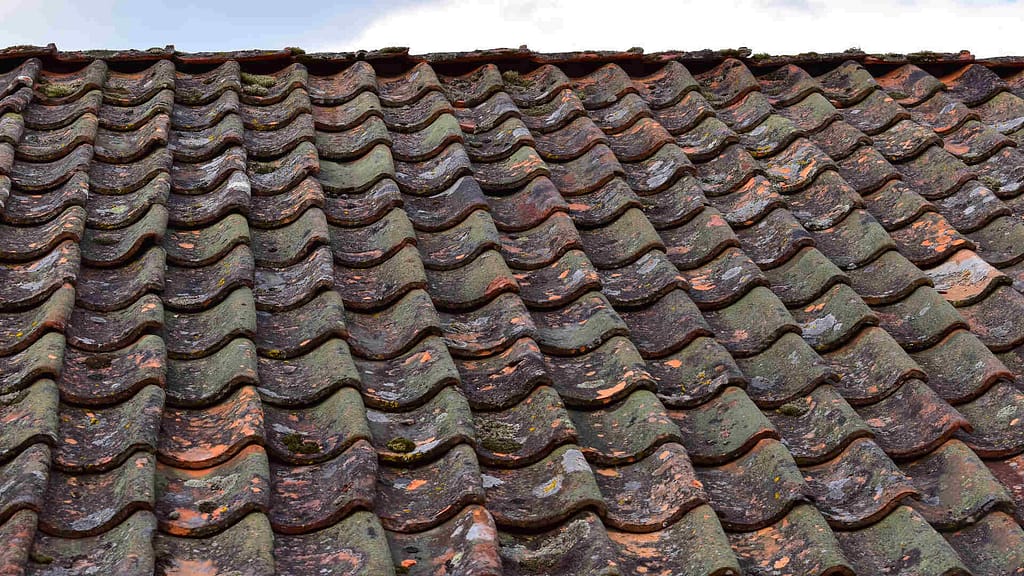
Textured Surfaces
Roof materials, especially asphalt shingles or wood shakes, can have a textured surface. These nooks and crannies are ideal for moss spores to settle and take root.
Directional Growth
There's a common belief that moss only grows on the north side of roofs due to receiving less sunlight. While it's true that moss prefers shaded conditions, it can grow in any direction, provided the conditions are right. However, in the Northern Hemisphere, north-facing roofs do tend to get less sunlight and therefore remain damp for longer, making them more susceptible to moss colonization. For those residing in Alaska, if moss damage prompts a roof overhaul, it's prudent to research the roof replacement cost in Alaska.
Natural Spread
Moss reproduces via spores, tiny cells that are carried by the wind. When a roof is in proximity to other mossy surfaces, like trees or neighboring roofs, it's more likely to receive a generous sprinkling of moss spores.
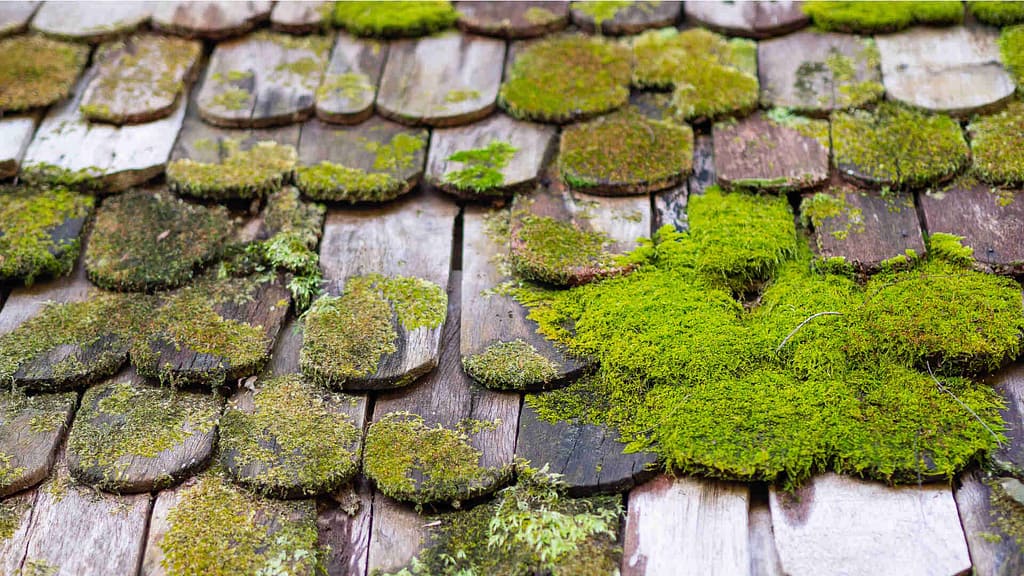
Why Moss is Detrimental to Roofs?
While moss may lend a quaint, fairy-tale aesthetic to homes, its presence on roofs can be far from benign. The lush green carpet might seem harmless, but over time, moss can cause a variety of issues that can compromise the structure and lifespan of a roof. Here are the main reasons why moss is detrimental:
Moisture Retention
Moss acts like a sponge, absorbing and retaining water. When moss grows on roofs, it keeps the underlying shingles or tiles damp. Constant moisture can lead to the decay of wood shingles and erode the granular surface of asphalt shingles.
Root System Damage
Moss has a fine, hair-like root system called rhizoids. These rhizoids anchor the moss to the roof surface and, over time, can cause tiny cracks and fissures in the roofing material. This can further expose the roof to elements, accelerating wear and deterioration.
Lifting of Shingles
As moss accumulates and thickens, it can physically lift and displace roofing materials, especially asphalt shingles. This not only creates gaps where water can infiltrate but also makes it more challenging to find a roof leak. Such gaps amplify the risk of water damage to both the roof's underlying structure and the home's interior.
Ice Dam Formation
In colder climates, the moisture retained by moss can freeze, forming ice. As the ice expands, it can force roofing materials apart, creating pathways for water intrusion. This scenario is further exacerbated when ice dams form at the roof's edge, preventing melting snow and ice from draining off the roof.
Aesthetic Decline
While some might appreciate the natural look of moss, its unchecked growth can lead to an uneven, patchy appearance. Additionally, moss can trap dirt and debris, leading to unsightly dark patches on the roof.
Increased Maintenance Costs
Addressing moss-related issues frequently necessitates professional intervention, leading to potential hikes in roof replacement costs. The combined expenses of regular cleanings, repairs from moss-induced damage, and the possibility of an earlier-than-expected roof replacement can significantly impact homeowners' budgets.
Cleaning Moss Off the Roof
Cleaning moss from your roof not only enhances its aesthetic appeal but also prolongs its lifespan by preventing damage. Here's a guide to help you tackle the moss problem:
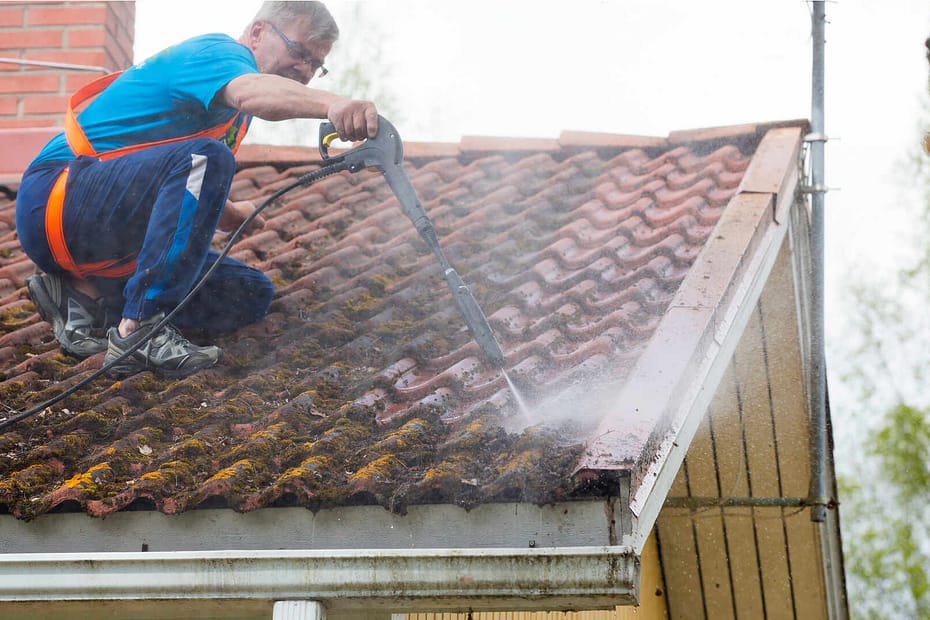
Safety First
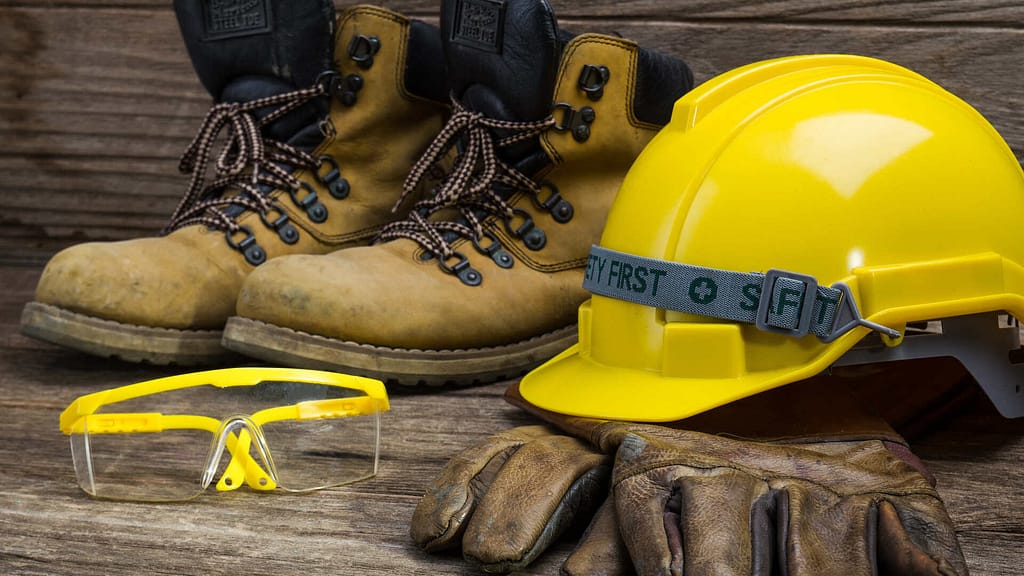
Safety is paramount when cleaning moss from a roof due to the risks of slipping and heights. Wear shoes with non-slip soles and good ankle support. If you're on a steep roof, consider using a safety harness. When using a ladder, ensure it is stable, extends at least three feet beyond the roof edge, and is set on firm ground.
Avoid working near power lines and be cautious of where you step to avoid damaging shingles. Choose a dry, calm day for the task, avoiding extreme temperatures. Wear protective gear like safety goggles and gloves.
Disclaimer: We strongly advise against doing this on your own if you have no professional experience or guidance.
If in doubt about safety or the extent of the moss, consider hiring professionals.
Tools and Materials Needed
For a smooth and effective moss removal process, having the right tools and materials on hand is essential. Here's a list of what you might need:
- Soft Bristle Brush or Broom: These tools are gentle on your roof, ensuring you can scrub away moss without causing damage.
- Hose with a Spray Nozzle: A regular garden hose with an adjustable nozzle will be helpful to wet the roof and rinse off the cleaning solution.
- Cleaning Solution: There are commercial moss removers available, but you can also use a mixture of water, bleach, and a small amount of dish soap as an alternative.
- Spray Bottle or Pump Sprayer: These are ideal for applying the cleaning solution evenly over the mossy areas.
- Plastic Sheeting or Tarps: To protect plants or shrubbery beneath the work area from runoff, it’s wise to lay down a protective covering.
- Waste Bags: For collecting and disposing of moss and other debris you might remove from the roof.
Having the right tools and materials not only ensures the job is done effectively but also safely. Always check equipment before use to ensure it's in good condition. If you're unsure about which products or tools are best for your specific roof type, consulting with a professional or your local hardware store can provide guidance.
Wet the Roof
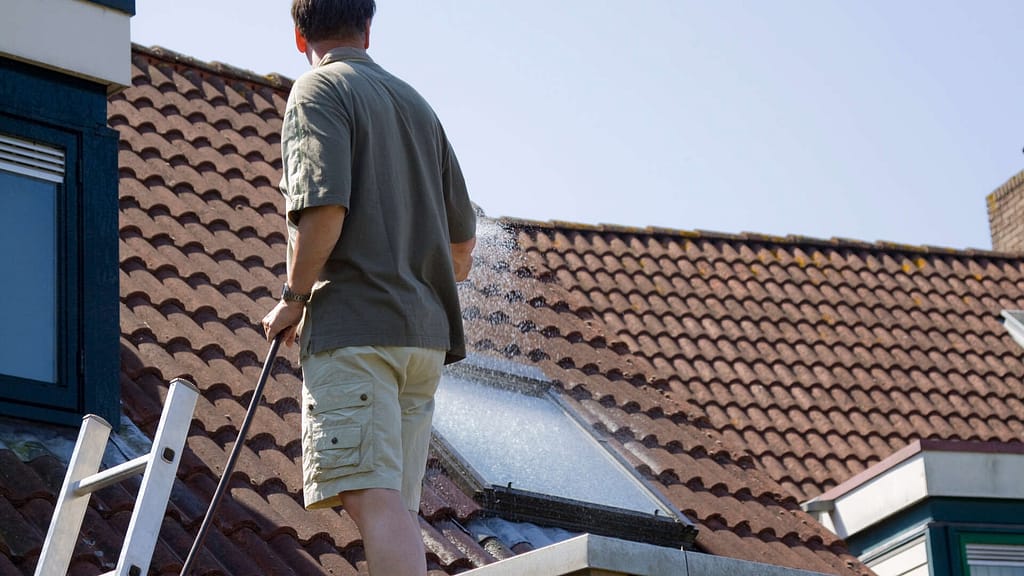
Before tackling moss removal, it's essential to dampen the roof with a garden hose. Wetting softens the moss, facilitating easier removal and ensuring the cleaning solution remains effective by preventing it from drying too quickly. Additionally, a damp surface minimizes dust and spores release, offering a safer working environment.
However, be cautious: while moisture aids in the application of cleaning agents, an overly wet roof can become slippery. Always ensure an even application of water to the moss-affected areas, starting from the top and moving downwards.
Apply Cleaning Solution
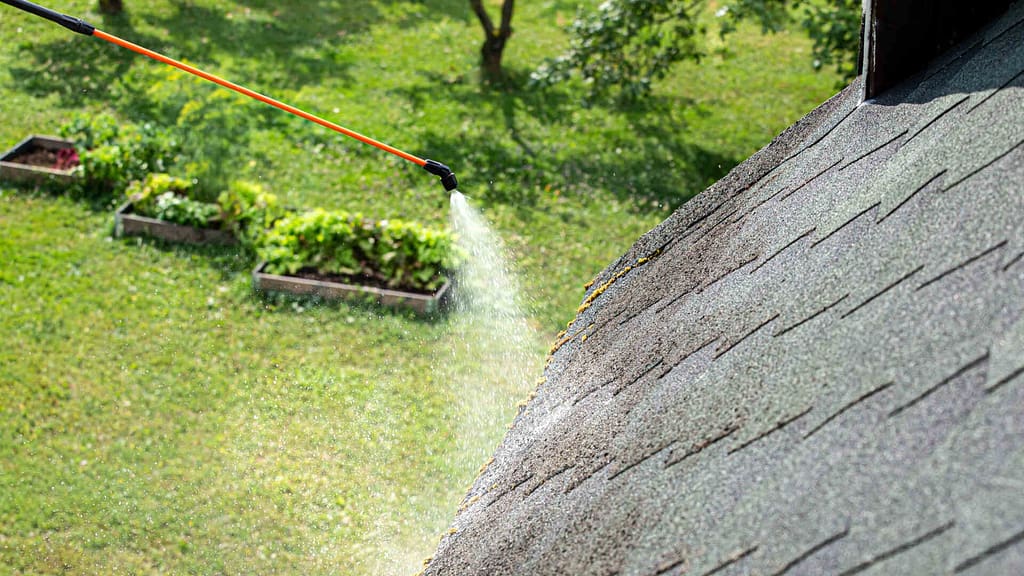
To effectively combat moss on the roof, applying a suitable cleaning solution is crucial. Begin by choosing either a commercially available moss removal product or a DIY solution. When selecting a commercial product, ensure it's designed for roofs to avoid potential damage.
If you lean towards a DIY approach, a mixture of equal parts water and bleach or a solution of water, dish soap, and a small amount of bleach can be effective. However, always spot-test any solution on an inconspicuous section of the roof before widespread application.
Wearing gloves and protective eyewear, evenly spread the chosen solution over the moss-covered areas. It's important to allow the solution to sit and penetrate the moss, typically for 20-30 minutes, but always refer to the product's instructions.
Avoid letting the solution dry out on the roof; if needed, mist the area lightly with water to keep it damp. Remember, the goal is to loosen and kill the moss, making it easier to remove in the next steps.
Scrub Gently
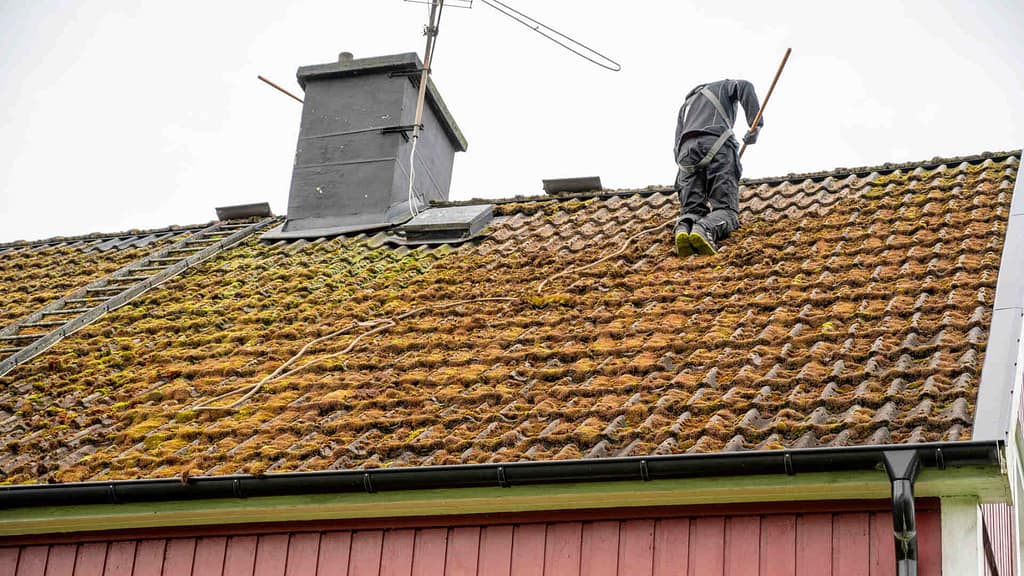
Once the cleaning solution has had ample time to work its magic, gentle scrubbing is the next step in the moss removal process. It's crucial to approach this task with caution to avoid damaging the roofing materials.
Use a soft-bristle brush, which provides enough agitation to lift the moss without being abrasive on the shingles or tiles. Always scrub in a downward motion, which aligns with the overlapping design of most roofing systems, preventing water or debris from getting underneath the shingles.
The combination of the cleaning solution and the scrubbing motion should allow the moss to lift easily, revealing a clean roof surface underneath. However, patience and consistency are key; aggressive scrubbing can lead to more harm than good.
Rinse the Roof
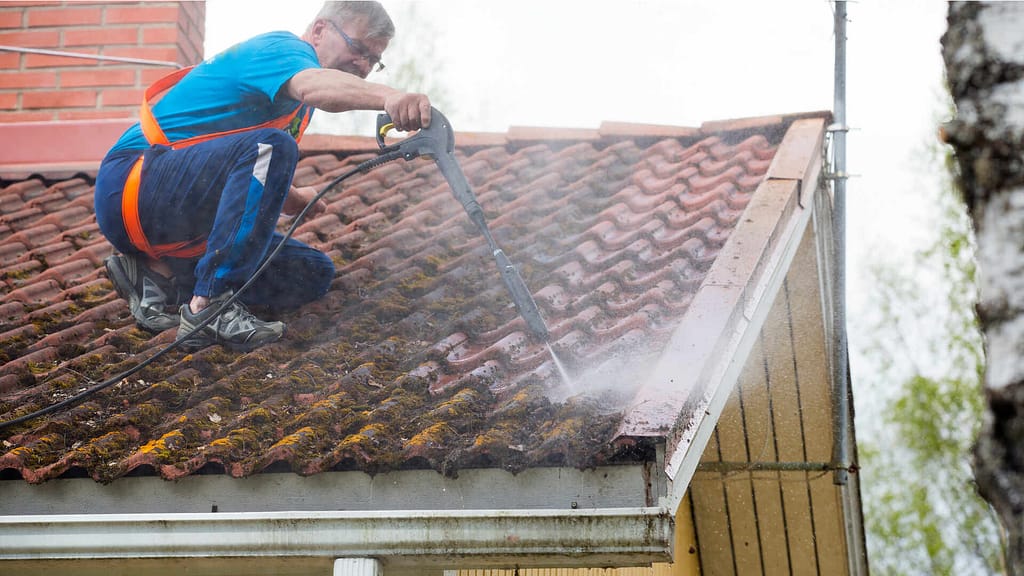
After scrubbing away the moss, it's essential to thoroughly rinse the roof to remove any residual cleaning solution and dislodged moss. Using a garden hose with a spray nozzle, start at the top of the roof and work your way downward, ensuring the flow aligns with the natural drainage pattern of the roof.
This method not only prevents water from getting beneath the shingles but also helps in washing away the loosened moss and debris. Avoid using high-pressure washers, as the intense force can damage shingles and even strip away the protective granules. A gentle, steady stream of water should suffice.
Proper rinsing ensures that the roof is free from any chemicals that might deteriorate the roofing materials over time. It's crucial to ensure all traces of the cleaning agent are washed away to avoid any long-term damage or discoloration.
Preventing Future Moss Growth
Preventing moss growth is arguably as crucial as its removal. After all, a proactive approach not only saves time and money but also preserves the longevity of your roof. Here are several strategies to help prevent future moss infestations on your roof:
- Periodic Roof Checkups: Regularly inspecting your roof for early signs of moss can help you address the problem before it becomes widespread. Check for damp, shaded areas, as these are most prone to moss growth.
- Improve Roof Sunlight Exposure: Moss thrives in shaded, cool environments. If possible, trim overhanging branches that cast shadows on your roof. This not only reduces the shaded areas conducive to moss growth but also decreases the debris, like leaves and twigs, which can trap moisture.
- Zinc or Copper Strips: Installing metal strips, particularly those made of zinc or copper, at the roof's peak can be an effective moss deterrent. When it rains, the metals release ions that coat the roof, creating an environment that's inhospitable for moss growth. This solution provides a long-term, albeit passive, moss prevention method.
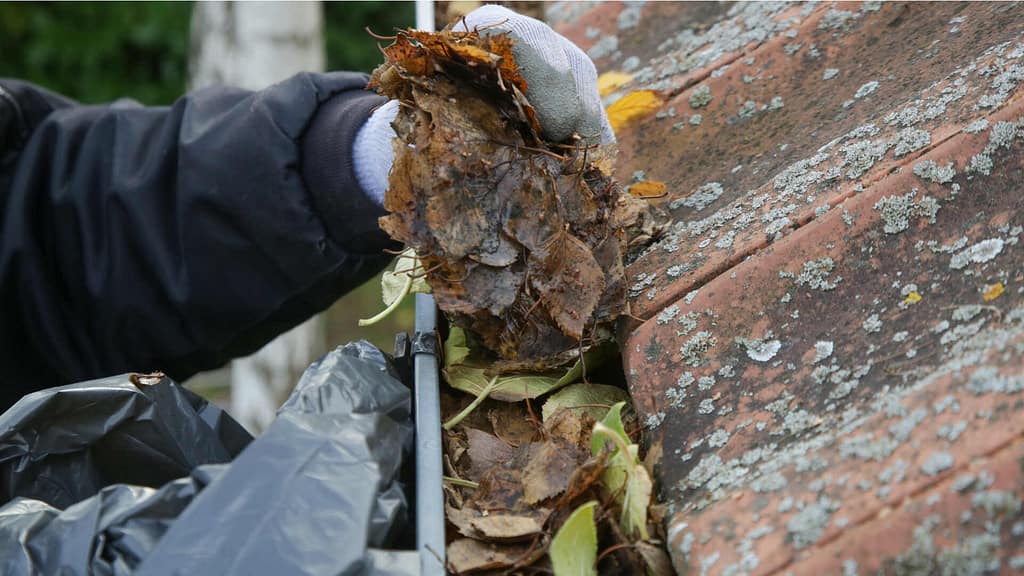
- Maintain Gutters: Regularly cleaning and maintaining your gutters ensures proper water drainage. When gutters are clogged, water can back up and seep beneath shingles, creating the damp conditions moss loves.
Conclusion
Moss, with its ancient lineage, has a captivating way of reminding us of nature's endurance. Its ability to flourish in diverse environments, from freezing tundras to our very rooftops, is a testament to its adaptability. However, when it decides to make a home on our roofs, it's crucial to approach its removal with care, prioritizing safety and effectiveness.
Roofs offer moss a habitat that often mimics its natural settings: shaded, moist, and rich with organic materials. While its growth might hint at a touch of whimsy, the reality of its impact on our homes is far more pragmatic. Addressing this green intruder with vigilance ensures not just the beauty, but the longevity of our shelters.
Fact checked by Jacob Petrosky - 10/9/23